22 March 2016

Final Farkling...for now.

One final cold afternoon found me installing the last of what I had, and the last of what I would strip from Thumper. First on the list...

Rox Risers

It helps to have three hands when doing these. If you are not someone who was born that way, I recommend getting a buddy to help.

I have these on Taz, the XT, also. When I raised the bars on Thumper, I didn't have to go far, so I used Touratech 3/4" risers. I really needed my handlebars to be in a very different place on the 700GS, though. So, I got the 2" Rox Risers and set about determining if I had enough length in my cables to install them as is. As it turns out, I did! They were a quick and easy install, and I was off and running onto the next addition.

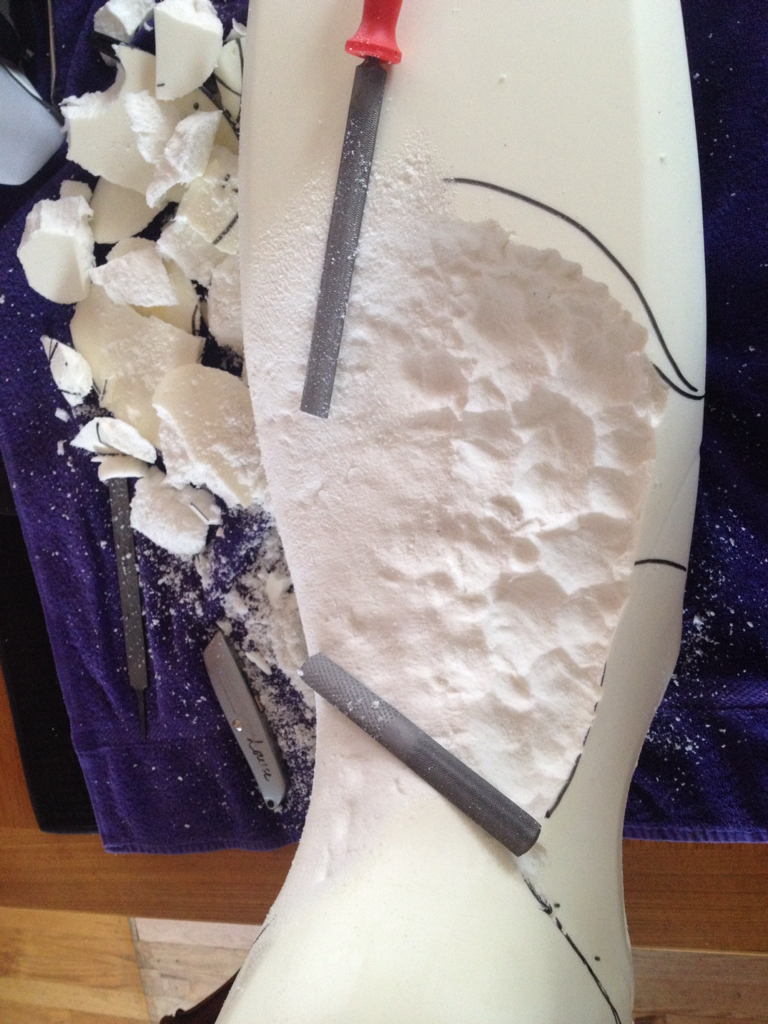
Because of the state of my hands at the end of a work day building costumes, I have a very hard time with stock grip diameters. My hands tend to cramp if I hold onto a narrow grip for any length of time. The solution? Foam grip covers! Knowing my old ones were in bad shape this past summer, Josh thoughtfully had a set sent to me in San Diego, and I went to work installing them in the parking lot of my apartment complex. It was a hot, summer day, and I stood out there sweating like crazy, trying to get the new ones on by what appeared to be very obscene means. It was a little simpler this time, and I actually had hairspray to use. I'm getting ridiculously good at putting these on quickly, which is good as they don't last forever, especially if one rides a lot.

A little hairspray helps them slide on a little easier, then dries to keep them in place. It's lube and glue all in one!
In the comfort of my own garage, I can make all the obscene movements I need to while getting the job done, with no pesky neighbors looking down upon me wondering what the hell I'm doing.

Grips on! Let's finish the handle bars.

The "Helping Louise's Hands" adventure would be incomplete without the addition of a throttle rocker. Can live without it on long mileage days.

Barkbuster Storm hand guards. These are burly and more attractive than BMW handguards at the same time. If I had Barkbusters on when I hit that deer, my handguard wouldn't have been bent out of shape the way the BMW one was on the 650GS. Once again, super clear, easy instructions and a quality product. I just found out they are coming out with new ones which have led lights in the front, allowing cagers to see you more clearly when you are approaching them. If you're in the market for new handguards, they might be worth waiting for.

The basic protective element of a Barkbuster is a super strong metal brace. I have no doubt I'll be putting it's s strength to the test later this season. Hopefully, not on a deer....
The toughest part of installing the handguards, making sure they were at the same angle! Also, please note I'm wearing my new Alpinestars Tech 7s to break them in. They don't really need it--they're super comfortable on their own.
The finished look. I'm not sure how I feel about the aesthetics of them, but then, I'm not sure I like any others any better. So, if I can't have super strong, invisible handguards, these are a good compromise.

The last step in making my stance on the bike comfortable, both for long distance road trips and off-road handling, was new pegs. Or, in this case, old pegs stolen from Thumper. I had a set of Fastways on Thumper for the four years I had her, and I loved them. They are broad, stable, and have really good grippers on them. Bonus? They can be installed in a lower position. This was important as the stock peg placement on the 700 is really uncomfortable for me. I feel like my knees are in my armpits when seated, and that they placed me far too high when standing, forcing me to bend over to grip the handlebars. Not cool. The Fastways are the perfect solution.

Each of those little grippy spikes screws in individually, and the pegs come with two different sizes--I like the short ones as it turns out. Pro tip--locktite those puppies! I lost one before I got smart enough to locktite them.

I am still researching things like windshields, radiator guards, tires, and luggage--aka, making the dream list. As soon as I get all these things, I'll set off on an adventure to my nearest Starbucks for the obligatory super-clean, tricked out GS pic. I also decided on a new front sprocket with one less tooth. I'll let you know if it's as easy to switch out as the ones on Thumper and Taz, or if the neighborhood gets regaled with my complete repertoire of colorful vocabulary. Until then, if it didn't snow 8" on Friday where you live, I hope you had some nice riding this weekend. I wrote blog posts. You're welcome.


20 March 2016

Vogue--or...What Not To Wear!!!


Vogue magazine published an article last fall, interviewing "Biker Babes." It has only recently come to my attention, but I knew as soon as I saw the article that the women featured would be what one thinks of as the stereotypical biker chick--a babe on a Harley out for a cruise on a sunny day. Besides the fact that this is the largest group of any motorcyclists I have had snub me out on the road, I begrudge no one, even them, the style bike and riding they prefer. If you are on two wheels, I want to get to know you, or at least say hi!

If you've read any of my blog, you know I belong to a different group of riders. We call ourselves adventurers, and most of us welcome any woman (or man...I suppose) who is interested in finding adventure on two wheels. Whether it happens on an "Adventure" bike or not is of no concern to me, or to most women I know and ride with. But we are a huge part of the motorcycling woman population.

So, why are we not highlighted in Vogue's "Ride or Die" article? I get it.

THIS...

I don't have to wear mini denim and halter tops when I ride. I'm happy being safe. And quite frankly, that bike is sexy enough for both of us! Damn!


is not sexy like THIS.

I know, this is just a picture, but the inclusion of it makes more sense when you read the next pic down.


What is sexy to me is brains and skin. You know, simply possessing them because they haven't been splattered by a wall, or shaved off by a slide.

Now, I get it. I really do. This is a FASHION article, not an article about transportation safety, or an article about gear in a motorcycling magazine. However, Vogue has a huge, HUGE, population of women it reaches with every issue and I hate that it puts out there that this is the sexy way to be on a bike. And sadly, I see it every gorgeous day out on the road. I get passed by sport bikes with girls perched on the back, wearing cute dresses or short-shorts and flip flops, or women riding their own bikes in tube tops and denim shorts.

I also get that there is a culture to the Harley set, passed down through generations. A couple of the girls interviewed started to ride at a young age, with their dads. I honestly can't imagine anything better! But really, dads, aren't you better off protecting those girls by teaching them to protect themselves?

One biker babe mentioned that she will wear leather chaps--when it gets too cold to simply pull her socks up over her jeans. One other girl also mentioned that she never rides without leather--a leather handbag. **I had to actually take a moment to shake my head when I read that** Then one girl described what she wore, and how she dressed when it was hot. She actually uses the popular quote, "Dress for the slide, not the ride." IN DENIM SHORTS AND STOCKINGS!!!


Please note the large section of text...

What part of sliding across asphalt do you think stockings will protect you from? Even denim won't.

This article makes me sad and furious all at the same time. I know people will do what they want to do, and some will use their brains better than others. We all make our own choices, and to be honest, I have been known to ride in a pair of jeans on many occasions. I was glad to read this, and take some time to respond. I believe the same journalist wrote another article about MX pants being fashionable. I truly wish Vogue editors would have used the brains they no doubt do possess to hire writers who might actually know something about that which they were writing.

My real response to this article--better myself. I will be the ATTGATT girl, and I will attempt to be a better model for safe riding. Adventuring off into the wilderness, other countries, or just the next county is more fun with healthy, intact skin! I plan to keep mine that way as long as possible.

These are the women riders I find sexy. I love riding with them and trading stories of great adventure!

Bex and Brenda--CO GS Girls
Autumn--WAdvR
Ellen--ID GS Girls
Jude--WAdvR admin


P.S.--Do you want to be sexy and safe? Try leather. Some of the sexiest women I know, including land speed world record holder, Erin Sills, wear leather. Check it out!

Erin is sexy AND badass in her leathers!


More Mods (seriously, it's still snowing--no real riding)

Call me crazy, but I like the stability of being able to get more than one toe on the ground at a time. Am I capable of riding a bike that is nearly impossible for me to touch the ground--of course I am. You should see me on the KLX--if it is standing straight up, my toes wave around in the air. It's a light bike and I can pretty easily drop a toe on one side or the other to hold it up, but the new GS is not light. I also expect, at some point, to have to put my foot down in an off-camber situation, and would prefer to have a better chance of dropping that foot and not the bike. I could have bought a lowered chassis version of this bike, but I didn't want to lose any clearance. I have bashed the bottom of Thumper on rocky steps--yay! Bash Plate!--and I didn't want to lose any clearance on this new one if I didn't have to. I also didn't want the optional low seat. I wanted a custom seat. Well hey, I've got those skills and all the correct tools. So one snowy weekend, when I wasn't riding anyway...

First step is simple. After removing the seat from the bike, pull off the cover by carefully removing staples. This seat is remarkably simple compared to my little Honda seat I did a few years ago.

I sit...here!


With the cover off, I put the seat back on the bike, sat on it, and using a Sharpie (carefully--I didn't want Sharpie marks on the crotch of my jeans) I roughly marked in the area of the seat where I comfortably sit.

Mapping out areas to be removed. On the top of that list is the ridge on each side of the seat.


Poking at the foam, I determined the levels of foam I would be able to shave away, outlining and writing those numbers in so as to remind myself as I worked.

Oh my dog--the foam really got ALL OVER! I ran the shop vac along side my project for as long as I could stand the noise.


I began carefully cutting the foam away to approximate depths, and once it was roughed in, I began smoothing it out. I used three different sized files, smoothing down with the finest at the end.

Getting there.... I love how smooth it is now--no ridges on the sides.


When the seat was sufficiently smooth, I loosely fit the cover back on and tried it out on the bike. Success! I could get the flat part of my toes on the ground on both sides--not quite the balls of my feet, but that's okay. I reattached the cover with a manual staple gun, stretching it more for a snug fit, and put the seat back on. At some point, after I determine this is the final shape I want (probably after a long trip), I will use a pneumatic stapler to finish the seat cover. There are a few areas that are too skinny to get staples from a manual stapler into. For now, it works fine.

There are some skinny areas this stapler doesn't get into well. I'm planning on finishing it after I test it on a long ride. After I do, I'll use a pneumatic stapler with the air compressor to re-assemble. It has a narrower area where the staples come out, and can get into tight little crevices.


This is a really simple thing to do on one's own. I would say the most difficult part is having the right tools for the job. One hint, some types of foam carve away easily with a serrated electrical knife. You know, the kind Mom used on the ham at Christmas. However, not all seat foam is the same, and some will just get torn all to hell. If you're going to attempt this, go slowly at first to know what you're working with, then create a custom spot for your custom butt!


FARKLES! ...and mods.

Camille is so beautiful and functional on her own, but I've been hard at work making her more my own bike. Until I got my hands on the new bike, I had forgotten all the things I had done to Thumper to make her fit me, make her more functional, and make her fun. Once I started running down the list of mods I had made on that bike, I started mentally adding up the cost and time to do everything I needed to on Camille.

Holy crap.

The list was a bit overwhelming for my little brain to wrap itself around, so I started with what I had and what I felt I needed/wanted first.

Hands!

It was January in Denver. That fact alone does not cut out the possibility of riding--we have loads of sunny days free of ice and snow. But, it was still cold, and let's face it, fingers that don't function due to frostbite (and the possible outcome of gangrene and amputation...eeewwww) is a danger to motorcyclists. So, easily enough, I pulled the wiring for my Gerbings gloves off Thumper and wired Camille to keep me safe and warm. That was actually a great first project as I had to pull the plastics off one side in order to run the wiring, giving me a better look at what's under there. It's cool, I still have no idea what most of that stuff is....


Pulling the plastics off the bikes quickly tells which one has seen some dirt! It seemed wrong to put that dirty, dusty piece of wiring into the new bike, but in it went anyway.

Quickly following the "Keeping Louise Warm" adventure, I moved on to the "Protecting my precious engine" adventure. I easily, and all on my own (I'm stating that fact to remind myself what a badass I am) installed my AltRider crash bars and bash plate. I got the silver bars and black bash plate. I know most people go for a matching set, but I like how the bash plate disappears against the black engine while the silver bars look gorgeous on the white bike

Silver Crash Bars freshly unpackaged, along with all tools and hardware necessary for install.

Ok, this is where I'm going to gush about AltRider. The pieces I put on my bike are quality, look great, and come with the EASIEST instructions to follow, complete with PICTURES! Honestly, what took me the most time was locating the engine bolts I needed to pull for the crash bars. In my defense, BMW hid them behind some lovely little black plastic caps, making the bike look clean and nice, but making me look like an idiot when I couldn't find giant bolts that require a size 50 (!) torx bit. Thankfully, I was alone, so no one saw me.... Anyway, other than the hiding bolts, and the cut up finger from shoving the big bolt through the small hole in the bash plate, everything was easy-peasy. So much so, in fact that I immediately emailed them to tell them how great my experience was.

Not many tools needed for the Bash Plate. I really love how hefty this one feels compared to my other two. See the metal dish with the Tusk label, it's magnetic and essential for someone like me who just puts stuff down any old place, then promptly forgets where she put them. It was a Christmas gift from Josh!
Delicate, girly fingers and sharp moto parts are bound to clash a bit. But, you know what they say--Chicks Dig Scars.

Next!

Seat, risers, pegs, grips, barkbusters...stay tuned.